As promised last week, this weekend I tackled the legs. First came the clean up, followed by dry assembly:
The hips and pelvis:
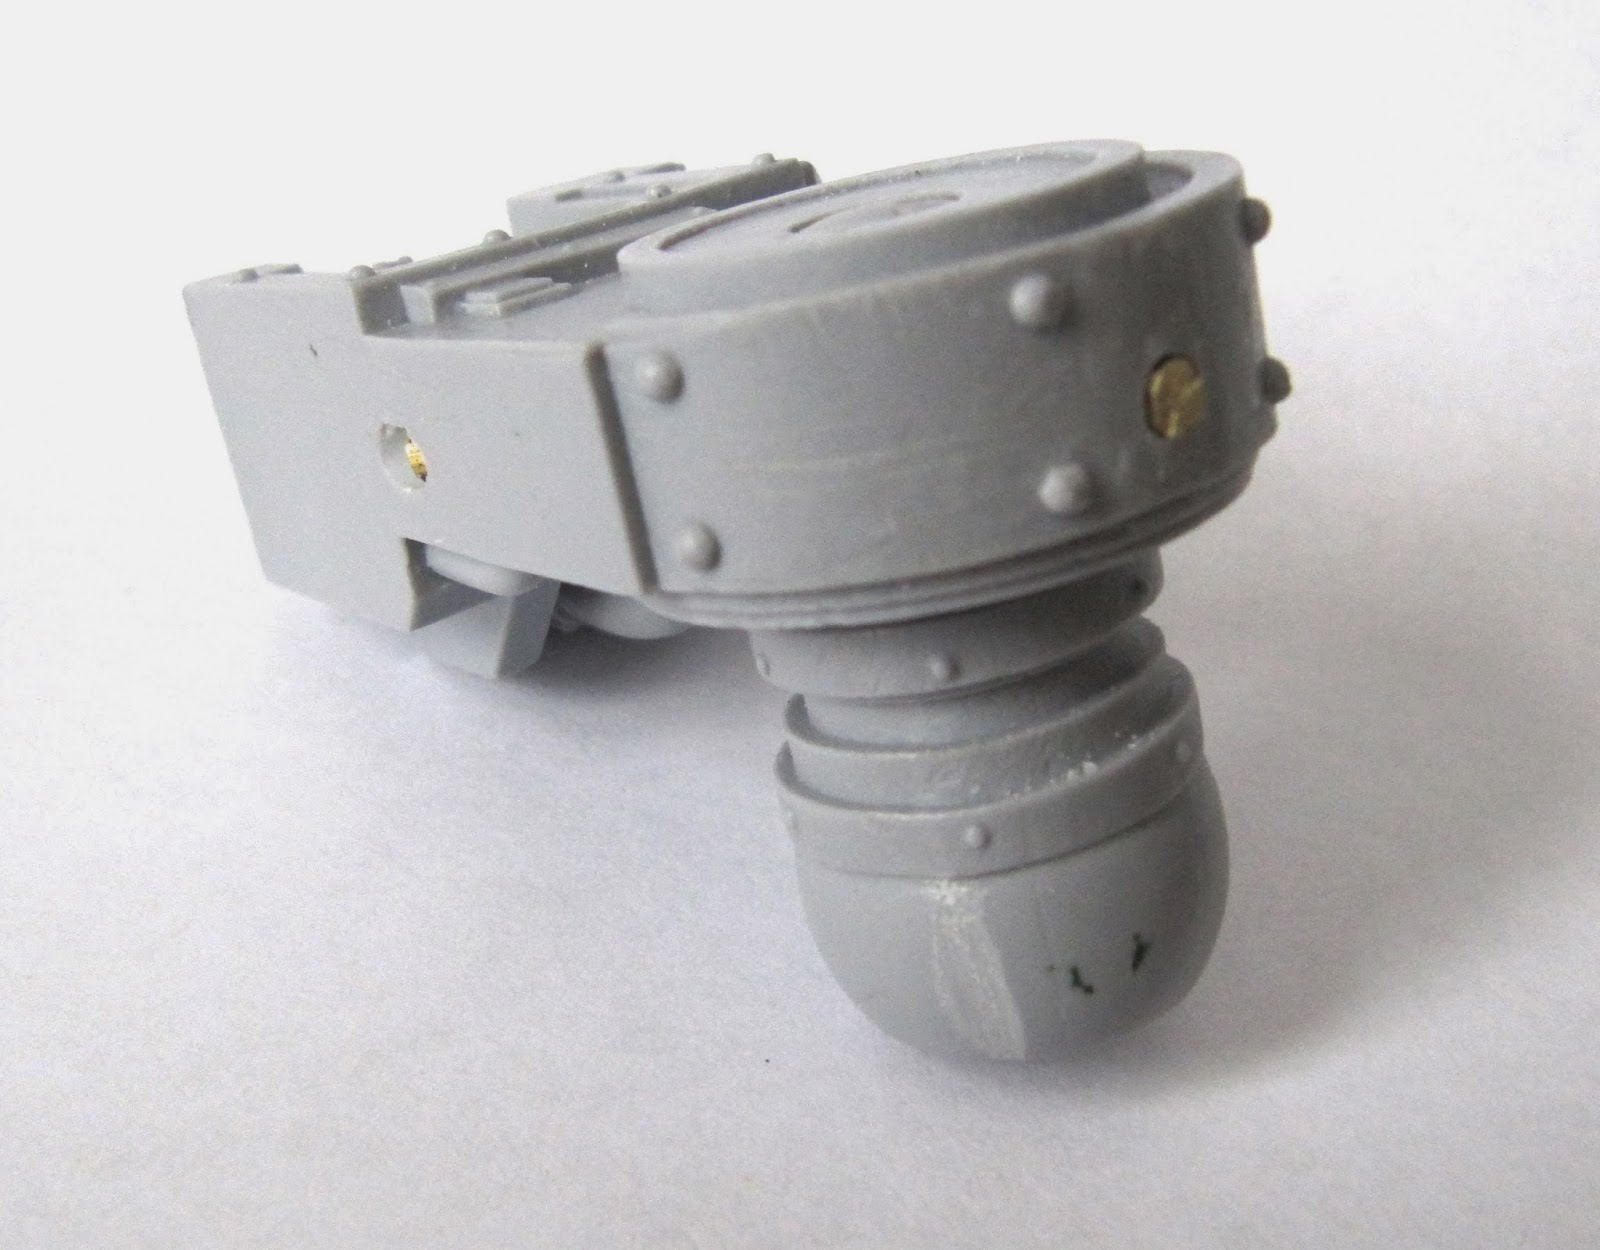
And the legs themselves. thigh, two piece knee, and lower leg with ankle joint:
I found pre-drilling with a smaller bit essential here. First I measured the centre point on either side of the outer joint, and them I drilled through. The next stage was to place the inner piece, gently push the drill bit through to mark the correct spot. I then changed the angle and repeated this to ensure the centre mark was consistent. This was then repeated for the upper joint. I hope that all makes sense:
I did not want to drill all the way through the hip ball joint as I don't expect them to be at an exact right angle to the pelvis once assembled. I pushed a cut down brass spear from my historical bits box, point outwards, and used this to confirm the centre point for the thigh joint. In both cases, the true centre point matched the centre of the disc on the thigh:
The next stage was simply to drill through with the 3mm bit and cut the brass rod to length. I drilled the outer edges first, then placed the inner joint in place to confirm positioning, before removing it and drilling in from either side. I then resaampled it and confirmed the joint by passing the drill bit in from either side again in various positions. The pre-drilling meant that there were no issues at this stage.
I did not drill all the way through to the outer edge of the thigh joint as this will make it easy to conceal with putty later.
Next week I will work on the torso and head. I need these pieces to be complete to allow me to confirm the model is in balance before fixing the various joints in the feet, legs and hips in place, attaching the pistons etc. Whilst I may fix a small base under each foot to protect them from the rigours of clumsy gaming and aid stability. I would like it to be freestanding if possible.
I'm a bit under the weather today, so unfortunately missed joining the rest of the local gaming club for a painting day. Still at least it gave me the chance to get this written up :-)


")


